
Last updated September 10, 2026
Full 25-point door and opener safety check with every visit - springs, cables, rollers, tracks, and your LiftMaster or Chamberlain opener included
You get a price before we start. It does not change when the truck arrives.
 Before
 After
After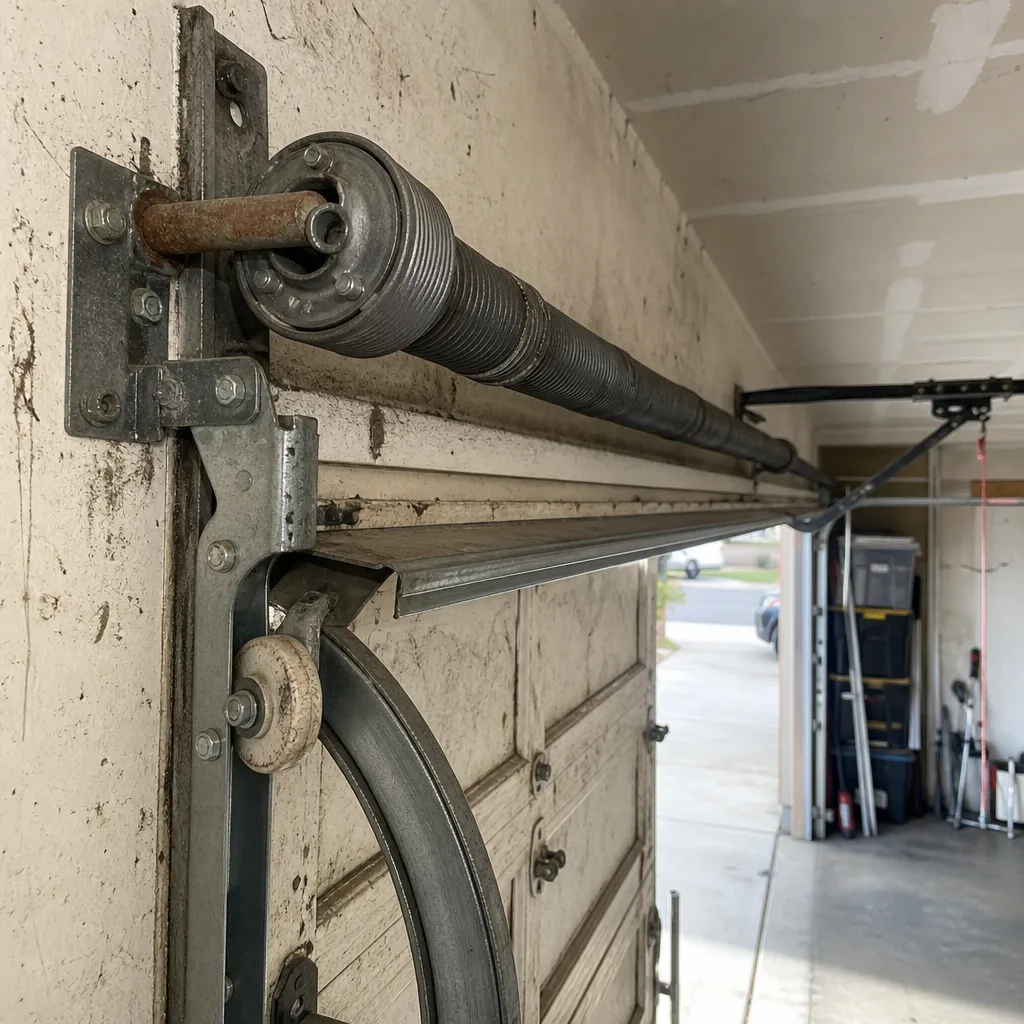 Before
 After
After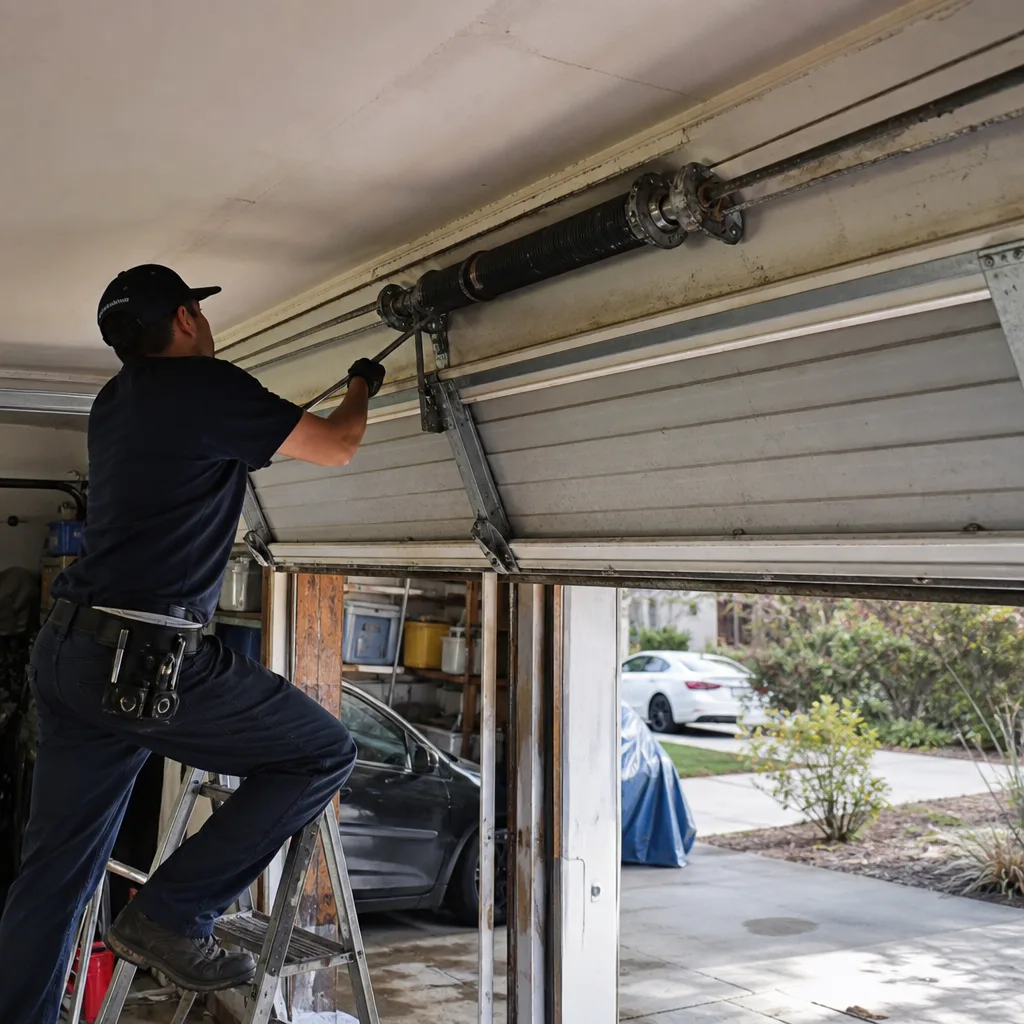 Before
 After
AfterGarage Door Repair Maintenance Checklist for Oceanside Homeowners
The number-one repair call we get every spring in Oceanside isn’t broken springs. It’s corroded rollers that seized up over winter because nobody lubricated them before the marine layer season rolled in off the coast. A fifteen-minute job twice a year would have prevented most of those calls entirely. This checklist is built from what Otto’s crew actually sees in garages from Fire Mountain to South Oceanside, not from a generic manual written for a house in Nebraska. You’ll learn exactly what to check, what to do yourself, what to leave to a pro, and how to keep a few hundred dollars in your pocket instead of handing it to us on a Sunday night. For situations that do require professional help, explore our Garage Door Repair services.
Quick Answer
Twice a year, Oceanside homeowners should lubricate all moving hardware with a silicone-based or lithium-based garage door lubricant, inspect rollers, tracks, cables, and springs for rust or wear, test the auto-reverse safety feature, replace cracked or sand-packed weatherstripping, and tighten loose bolts. Any spring, cable, or track adjustment is a professional-only job. Doing this takes about 45 minutes per session and costs roughly $25 to $40 a year in materials, compared to the $180 to $340 average emergency repair bill when it’s skipped.
Table of Contents
- Why Oceanside Weather Is Harder on Garage Doors Than You Think
- The 10-Point Homeowner Checklist (Do This Twice a Year)
- The Lubricant Question: What to Use and What Otto Has to Fix Every Season
- Spotting Early Rust on Tracks, Hinges, and Cables Before It Fails
- The Weatherstripping Inspection Most Guides Skip (But Oceanside Can’t)
- Jobs That Belong to a Technician Only, No Exceptions
- The Real Math: Maintenance Cost Per Year vs. Skipped-Maintenance Repair Bills
- When to Run This Checklist in Oceanside: The Two Windows That Matter
Why Oceanside Weather Is Harder on Garage Doors Than You Think
Oceanside sits in a narrow band where salt air, morning fog, and afternoon sun all take turns attacking your garage door hardware. The marine layer that rolls in most nights between May and August leaves a fine film of salt moisture on every metal surface. Then the sun burns it off by ten in the morning, and that cycle repeats about 200 nights a year. That’s 200 salt-water evaporation cycles on your rollers, hinges, springs, and cables annually. Most garage door maintenance advice online is written for inland climates where the enemy is cold and ice. Here, the enemy is corrosion. It works slowly, silently, and by the time you hear the grinding or see the rust streaks, damage is already done. A door is 200 pounds riding on two springs. Respect it, especially three blocks from the beach.
Our garage door repair service in Oceanside sees the same failure pattern every spring: rollers so corroded they’ve stopped rolling and started sliding, which wears flat spots on the roller bearings and drags the door out of balance. That imbalance then overloads the springs, and a spring that should last 10,000 cycles dies at 4,000. The frustrating part is that most of this is preventable with the checks below.
The 10-Point Homeowner Checklist (Do This Twice a Year)
Set aside 45 minutes in spring and 45 minutes in fall. That’s it. Run through this list in order. Every item here is something a careful homeowner can do without special tools or training. If you hit something that worries you, stop and call. We’d rather spend ten minutes on the phone than four hours fixing a door someone made worse.
- Listen to the door. Open and close it once by hand, standing to the side. It should be nearly silent. A smooth hum is fine. Grinding, squealing, popping, or a rattling sound means something is dry, loose, or failing. Write down what you hear so you can compare next season.
- Check the rollers. Look at each roller where it rides in the track. Nylon rollers should turn smoothly without flat spots. Steel rollers should show no visible rust on the bearings. If a roller wobbles, doesn’t spin, or looks like it’s been sandblasted, it’s on borrowed time.
- Inspect the tracks. The vertical and horizontal tracks on both sides should be straight, clean, and free of rust bloom. Gently run a rag along the inside edge. If it catches on a burr or a rough patch, note it. Minor surface rust can be cleaned. Deep pitting or bend means replacement.
- Look at the lift cables. These are the thick steel cables running up both sides of the door. Look for frayed strands, rust discoloration, or a cable that’s loose in its groove. If you see even one broken strand, stop using the door and call a professional the same day.
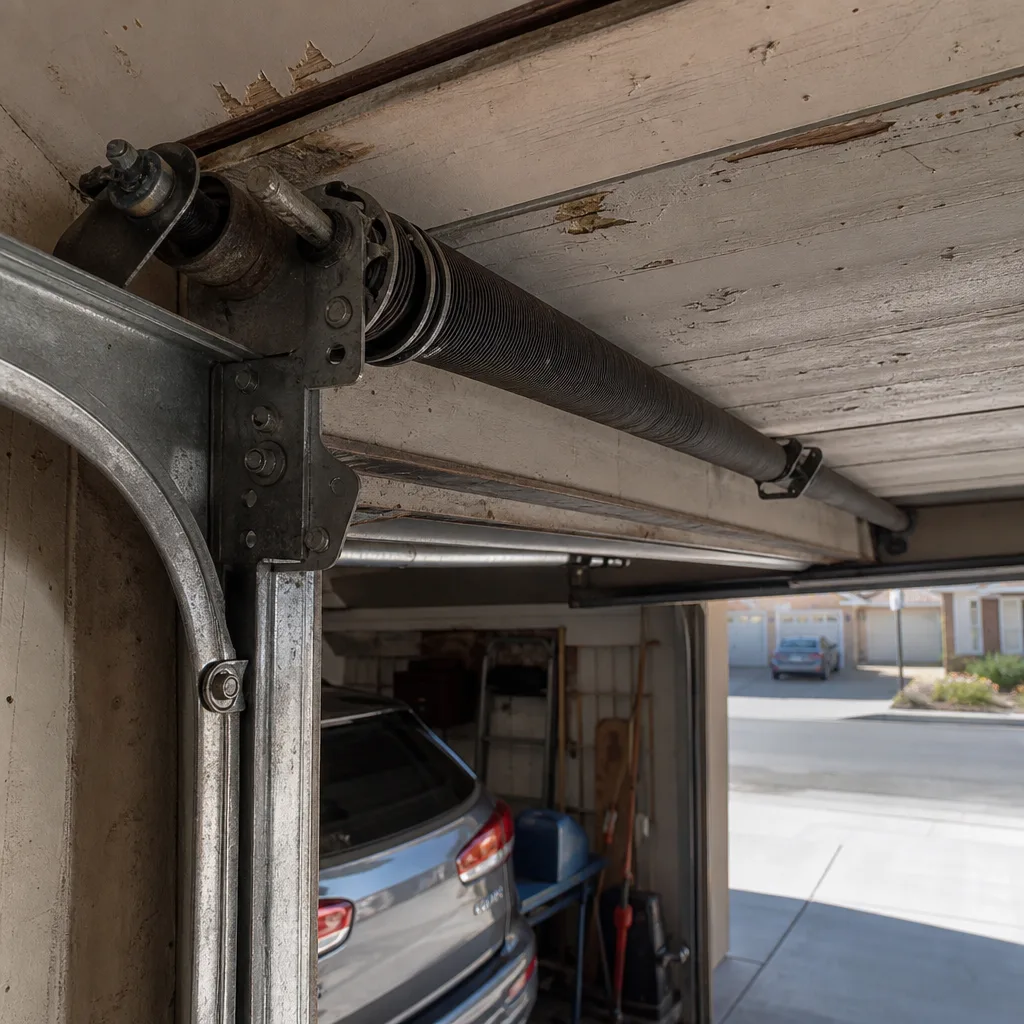
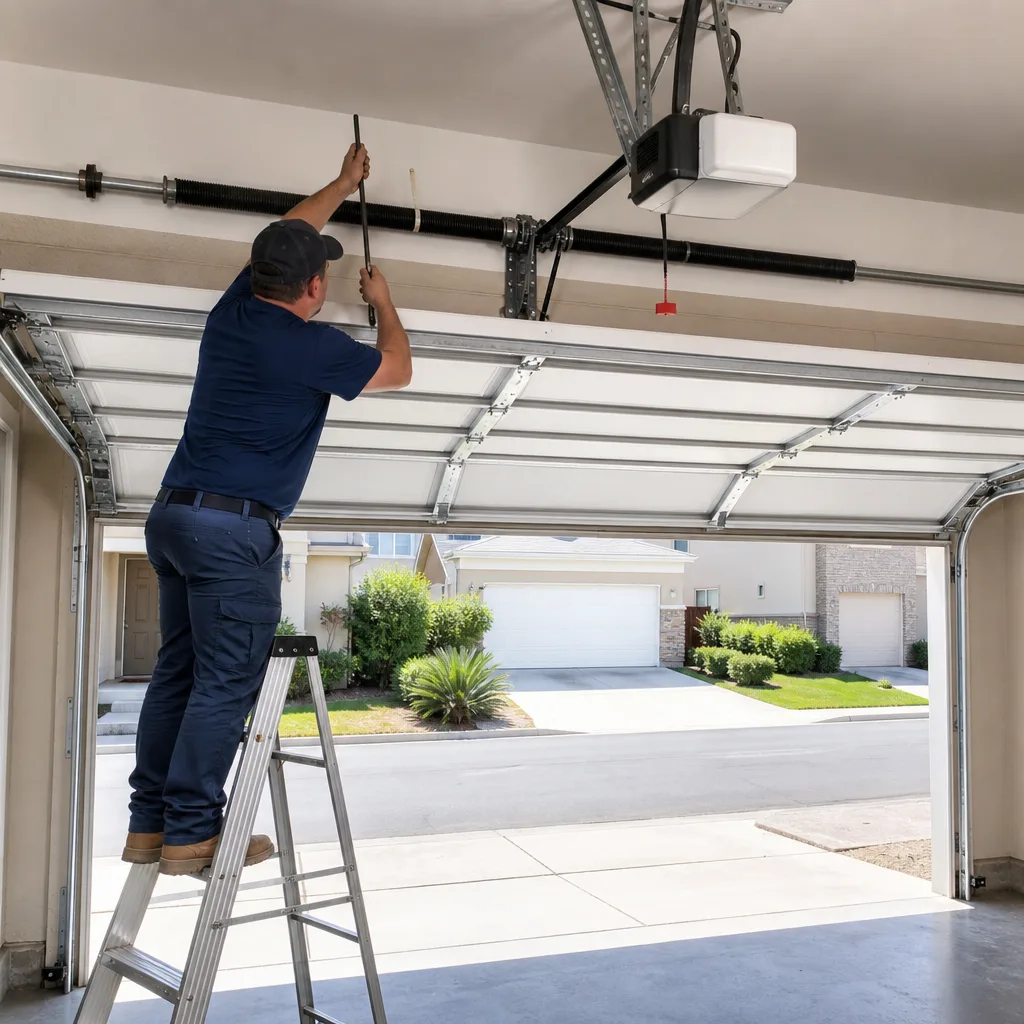
- Eyeball the springs. Stand inside, door closed, and look up. Extension springs stretch horizontally above the side tracks. Torsion springs sit on a bar above the center of the door. Look for gaps, rust, or a spring that’s stretched or sagging. Do not touch them. If a torsion spring has a visible crack or gap, the door is dangerous to operate.
- Lubricate (detailed in the next section). Hit the hinges, rollers, springs, and the opener rail. Takes ten minutes. This is the single highest-leverage maintenance task in Oceanside.
- Test the auto-reverse safety feature. Place a 2×4 flat on the ground under the door’s path. Close the door with the opener. The door should reverse within two seconds of touching the wood. If it doesn’t, your opener is out of compliance with federal safety standards and needs attention.
- Check the weatherstripping. The rubber seal along the bottom of the door and the vinyl strips along the sides. Feel for cracks, brittleness, or gaps where daylight shows through. In Oceanside, sand blast from the beach accelerates this wear.
- Tighten loose hardware. Use a socket wrench to snug up bolts on the track brackets, hinges, and the opener mounting. A door opening and closing twice a day is 1,400 vibration cycles a year. Bolts work loose.
- Check the balance. Disconnect the opener using the red emergency release cord while the door is closed. Manually lift the door to waist height. It should stay there on its own. If it drops or flies up, the springs are improperly tensioned and the door is dangerous.
That’s the list. Ten items, 45 minutes, two sessions a year. Most people skip this whole thing until the door stops opening at 7 a.m. on a workday with the car trapped inside. Then it’s an emergency call instead of a Saturday morning project. Otto quotes the job on that emergency call and holds the number when he arrives, but we’d still rather you not need it.
The Lubricant Question: What to Use and What Otto Has to Fix Every Season
Every spring, Otto gets calls from homeowners who lubricated their garage door with WD-40 and now it’s worse than before. Here’s the thing: WD-40 is a water displacer and a solvent, not a lubricant. It strips away whatever protective lubricant was there, leaves a thin film that attracts dust and sand, and evaporates within a few weeks. On Oceanside’s salt-air hardware, that means you’ve just removed the only protection the metal had and left it naked to the marine layer. We then have to clean that residue off before applying the right product, which adds labor time to what should have been a simple maintenance call.
For coastal garage door hardware, you want one of two things:
- Silicone-based garage door lubricant. Comes in a spray can explicitly labeled for garage doors. This is the best all-purpose option for Oceanside. It leaves a clean, dry film that doesn’t attract the fine sand that blows through coastal garages. Safe on nylon rollers, plastic parts, and metal. The go-to pick at any hardware store in Oceanside is usually a white can with “garage door” printed on it. If the can says WD-40, put it back.
- Lithium grease (white lithium) for metal-to-metal contact points only. Hinges and steel rollers benefit from lithium grease. Never use it on nylon rollers or plastic components, because petroleum-based grease degrades those materials over time.
Where to apply it: spray the roller bearings (the center part where the wheel spins on its axle), each hinge pivot point, the spring coils (both torsion and extension springs), the opener rail on screw and chain drives, and the latch mechanism. Wipe off excess with a rag. That’s it. Ten minutes, done.
One more Oceanside note: if your garage is within a half mile of the water, lubricate every four months instead of every six. The salt load is meaningfully higher that close to the surf, and we see the difference in corrosion rates between homes on Cleveland Street and homes up in Morro Hills. The closer you are to the strand, the more often you should be in there with the spray can.
Spotting Early Rust on Tracks, Hinges, and Cables Before It Fails
Rust on a garage door is like rust on a truck frame: it’s always there in Oceanside, the question is whether it’s superficial or structural. Here’s how to tell the difference in plain language, because most guides describe rust in terms that mean nothing when you’re standing in your garage with a flashlight. For a deeper dive on what to watch for, see Garage Door Warning Signs: A Oceanside Homeowner’s Reference Guide.
What early-stage rust looks like
- Tracks: A fine orange-brown dusting that wipes off with a dry rag. The metal underneath is still smooth and silver. This is cosmetic. Clean it, then apply a light coat of silicone garage door lubricant to protect the surface. If the track has rough, scaly patches that feel like sandpaper and don’t wipe clean, that’s pitting. Pitted tracks chew up rollers and eventually warp the door’s travel path.
- Hinges: Look at the flat plate where the hinge bolts to the door panel and the pin where the two halves pivot. Early rust shows as speckling, like freckles on the metal. If the speckles are surface-level, wire-brush them and re-lubricate. If the hinge pin is crusted, stiff, or the hinge doesn’t fold smoothly by hand, replace the hinge before it binds and puts shear stress on the panel itself.
- Cables: This is the one you don’t play with. A healthy lift cable is uniformly dark steel with maybe a light sheen of lubricant. Rust on a cable shows as reddish-brown staining along the strands. Look closely at where the cable wraps around the drum at the top of the track. If you see broken strands, a “birdcage” bulge where the cable is starting to unravel, or deep rust that has eaten into the wire diameter, the cable has lost its working strength. Do not use the door until it’s replaced. A cable snapping under tension can cut through the air faster than you can flinch.
The fix for surface rust is simple: a wire brush, a clean rag, and a re-coat. The fix for structural rust is replacement, and that’s technician work, not homeowner work. The point of checking twice a year is that you catch the freckles before they become holes.
The Weatherstripping Inspection Most Guides Skip (But Oceanside Can’t)
Generic garage door maintenance checklists mention weatherstripping as an afterthought: “check the seal, replace if damaged.” That’s fine for Omaha, where weatherstripping fights snow and cold. In Oceanside, the job is different, and the failure mode is wind-blown sand. Here’s what actually happens.
Oceanside’s prevailing onshore breeze carries fine beach sand. That sand works its way into the rubber seal along the bottom of your garage door every time the door opens and closes. It grinds between the rubber and the concrete floor like sandpaper, slowly wearing the seal from a solid barrier into a feathered, cracked lip. You’ll see pinholes of daylight under a closed door, or a seal that’s flattened on one side. The side strips take a different beating: the same sand combined with direct afternoon sun makes the vinyl brittle and it starts to crack at the corners where the strips turn the corner of the door opening.
When the bottom seal fails, three things happen in an Oceanside garage: moisture creeps in at night and condenses on tools, car underbodies, and stored boxes. Dust and sand accumulate inside, which then gets into the tracks and rollers you just cleaned. And pests get in, because a half-inch gap under a door is a highway for the field mice and roaches that the coastal climate supports year-round.
Check the bottom seal by closing the door and shining a flashlight from outside along the floor line. If light spills in, the seal is compromised. Pinch it between your fingers: supple rubber that springs back is healthy; stiff, cracked material that stays compressed when you pinch it is done. Side strips should be checked the same way. Replacement seals cost $15 to $60 depending on the door width and type, and it’s one of the easiest DIY fixes on this entire list. A door that seals properly also holds the garage temperature more stable, which matters in a house where kids forget the door to the kitchen.
Jobs That Belong to a Technician Only, No Exceptions
This is the line Otto won’t let you cross, because he’s the one who gets called when someone crosses it and ends up hurt. Some garage door components are under enough stored energy to kill a person. No maintenance checklist is worth that.
Do not touch these, ever:
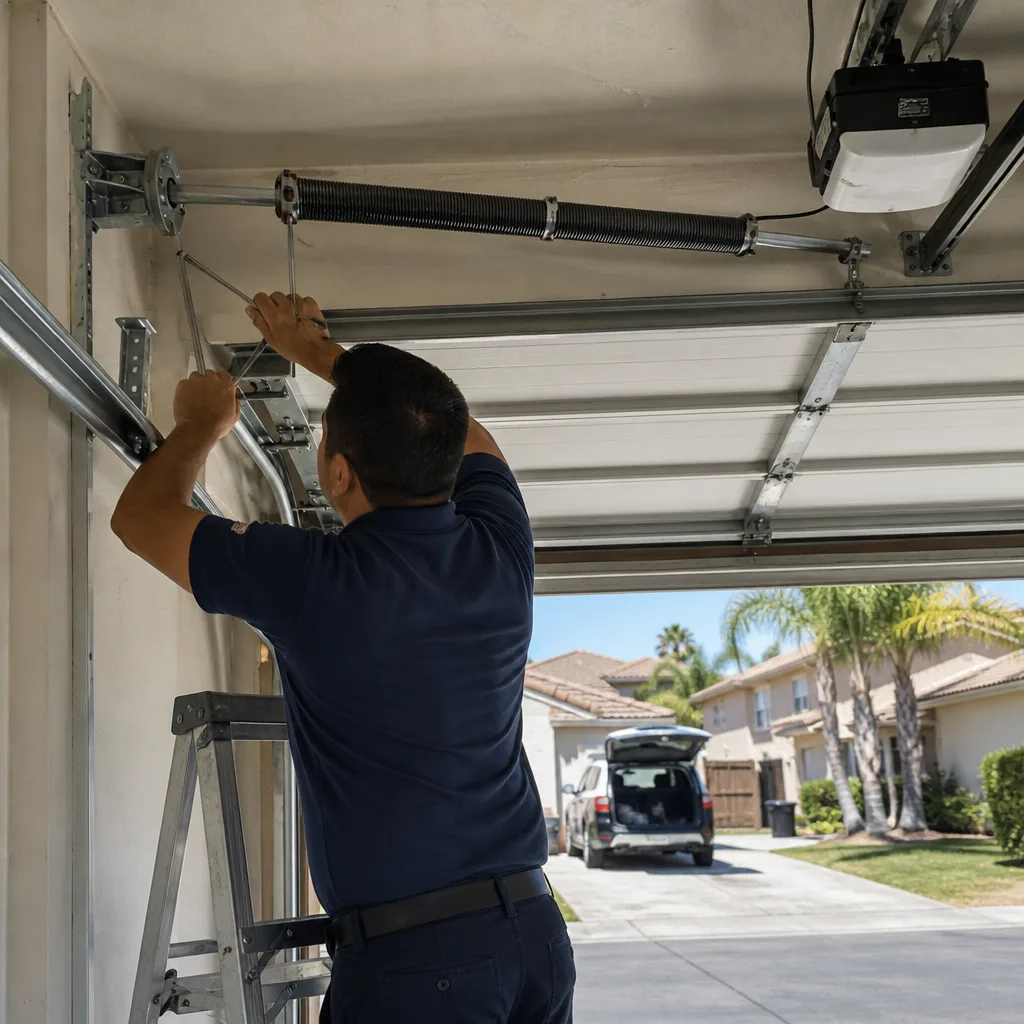
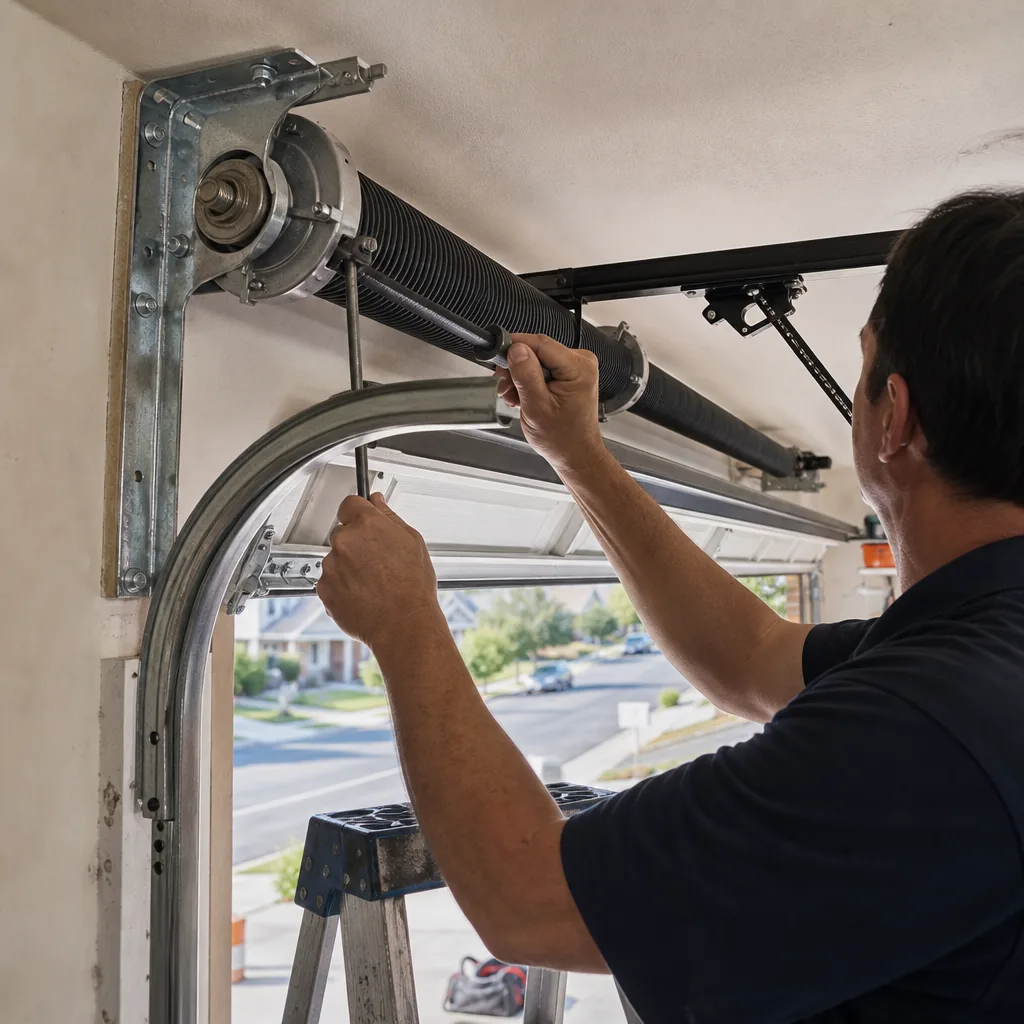
- Torsion springs. These are the big springs on the bar above the inside of the door. They hold the entire 200+ pound door’s counterweight energy. They require specific winding rods, exact tension counts, and the knowledge of what a failing spring sounds like as it’s being wound. A torsion spring releasing uncontrolled can break bones, shatter a jaw, or worse. Otto counts spring cycles the way you count tire miles. He’ll tell you what’s left on yours, and he’ll replace it safely while you watch from inside the house.
- Extension springs and the safety cables that run through them. Extension springs stretch along the horizontal tracks. When one breaks, the broken end travels at high speed. If the internal safety cable is damaged or missing, that broken end becomes a projectile. Replacement requires knowing the exact door weight and spring rating.
- Lift cables and drums. The cables that carry the door’s weight, and the grooved drums they wrap around at the top of the track, are under constant tension. A cable that slips off a drum while you’re working near it can whip. The drum itself is set with the cables under load. This is not a ladder-and-wrench job.
- Track re-alignment or replacement. If a track is bent, binding, or pulled away from the wall, the door is not traveling straight. Forcing a misaligned door to open or close stresses every other component including the springs. Track work requires releasing door tension first, which loops back to the dangerous stuff.
- Opener electrical or logic board work. Modern openers from brands like Genie, LiftMaster, and Chamberlain have capacitors and boards that can hold a charge. If the opener is straining, the problem is almost never the opener; it’s the door underneath it fighting the opener. Diagnosing that properly can mean the difference between a $40 adjustment and a $400 opener replacement.
The rule is simple: if the part is under spring or cable tension, or if fixing it requires releasing that tension, it’s Otto’s job, not yours. We’d rather bill you for a hinge than visit your family in the ER.
The Real Math: Maintenance Cost Per Year vs. Skipped-Maintenance Repair Bills
Let’s put actual numbers on this, because most guides talk about maintenance in vague terms like “saves money in the long run” without ever showing the math. Here’s the Oceanside math, based on what Otto’s crew charges and what local hardware stores sell.
Annual maintenance cost (doing the checklist above)
- One can of silicone garage door lubricant: $12 to $18 at any Oceanside hardware store. One can lasts about two seasons if you’re using it correctly. Annual cost: roughly $8.
- One wire brush and rags: $10 once. It’ll last five years. Annual cost: $2.
- Replacement bottom weatherstripping every 2 to 3 years: $20 to $40, so about $10 to $15 per year averaged out.
- Replacement rollers (if and when needed, DIY): $30 to $50 for a set of 10 nylon rollers. Usually every 4 to 6 years. Annual cost: about $8.
- Your time at 45 minutes, twice a year: 90 minutes. That’s it.
Total: roughly $30 to $40 a year.
What skipping it costs in Oceanside
- Seized roller replacement (the springtime classic): $120 to $180 including the rollers and labor. If the seized roller causes the door to run out of balance and the technician has to re-balance the door, add $40 to $60.
- Broken torsion spring from imbalance: $180 to $340, and it’s usually an emergency call because the car is trapped inside. This is the one we get at 9 p.m. on a Tuesday.
- Replace pitted track section: $150 to $250 per track section, plus labor, plus the door has to be re-tensioned. Usually $300 to $500 all-in.
- Broken lift cable with panel damage when the door dropped crooked: $200 to $400 on the low end, and the panel dent often gets ignored because that’s another $200 to $600.
- Opener motor burned out from years of struggling against a dry, binding door: $350 to $500 for a new opener installation from a brand like Genie or Chamberlain.
Total for one bad year: $500 to $1,200, usually landing all at once.
The math isn’t close. Thirty to forty dollars a year against a near-certain five-hundred-dollar hit every few years, the only variable being which component fails first. And in Oceanside, the marine layer makes that failure closer to certain than to possible. Ask anyone on your street. We’ve been in this county since 2004, and the people who do this checklist simply don’t see us except for the occasional spring replacement a decade after install.
When to Run This Checklist in Oceanside: The Two Windows That Matter
Timing matters because Oceanside’s weather pattern is not a gradual four-season cycle. It’s a two-mode system: wet marine layer season (roughly April through October) and the drier, cooler winter (November through March). The transitions between those two modes are when the damage accumulates.
- Early April to mid-May. This is the critical one. The marine layer is about to settle in for the summer. You want lubricant freshly applied and all hardware checked before the nightly salt film cycle starts. If you’re only going to do this once a year, do it in April. Doing it now also catches any damage from winter storms, which in Oceanside means wind-driven sand and occasional heavy rains that can flood a garage floor and wick moisture up into the bottom seal and track feet.
- Late October to mid-November. Second session. The summer’s salt-and-sun cycle is ending. You’re checking for the damage that accumulated over the marine layer months, cleaning off any rust that started, and re-lubricating before the winter, when cooler temperatures actually make existing lubrication thicker and less effective. A dry roller in winter is more likely to flat-spot than a dry roller in summer.
If you live close to the beach, add a third quick lubricant-only pass in July. Fifteen minutes, just the spray can, no full inspection. The salt load in July at two blocks off the strand is the heaviest of the year. If you live east of College Boulevard, two sessions a year is plenty. If you live west of it and south of Oceanside Boulevard, three is smarter.
This checklist pairs naturally with garage door installation in Oceanside if your door is over 15 years old and the maintenance is becoming a losing battle. At some point, replacing the door and all its hardware is cheaper than nursing a 20-year-old system through another marine layer season. Otto will tell you straight whether you’re at that point or not.
Common Mistakes to Avoid
- Using WD-40. It’s a solvent, not a lubricant. It cleans off the protection you actually need and leaves bare metal exposed to Oceanside’s salt air. We clean this mistake up every single spring.
- Over-tightening bolts on the track brackets. The tracks are designed to flex slightly as the door travels. Crank them down flush and rigid, and you can actually cause binding that wasn’t there before. Snug is right. White-knuckle torque is not.
- Ignoring the door’s sound. A garage door that makes a new noise is telling you something. Noise is always earlier than visible damage. By the time you see the problem, you’ve missed the cheap fix window.
- Lubricating the track itself. The rollers ride inside the track; the track itself should be clean and dry. Lubricant in the track collects dust and sand, which turns into grinding paste. Lubricate the roller bearings, the hinges, the springs, the opener rail. Not the track channel.
- Testing the auto-reverse with a hand instead of an object. People wave a hand under the closing door to see if it reverses. Federal safety standards require reversal on contact with a 2×4 or equivalent. A hand test tells you nothing about real-world safety. Use the board.
- Assuming an old door is “fine” because it opens. A door that opens and closes is not the same as a door that’s safe and balanced. Most of the dangerous conditions we find in Oceanside garages are on doors that were “working fine” right up until a cable snapped.
- Deferring a rusty component because it “looks okay for now.” Ocean salt air doesn’t pause. Surface rust that’s ignorable in March is structural by September. The whole point of the schedule is that you never have to wonder which category you’re in.
When to Call a Professional
Call a garage door professional the same day if you see any of these: a broken spring (you’ll usually hear it, like a gunshot from the garage), a cable with broken strands or that has jumped off its drum, a door that’s visibly crooked when moving, a door that drops hard when you release the opener’s emergency cord, or any rust that’s gone past surface speckling into pitting or flaking. If the door is closed and the car is inside, that’s an emergency call, and Otto answers the phone personally, any hour. If it’s not an emergency, schedule it. The inspection is free. Garage door opener repair in Oceanside should also be on your mind if the door is balanced but the opener is acting up. Otto’s Garage Door offers free estimates anywhere in Oceanside, so call (760) 819-7361 and get a straight answer before you spend a dollar.
Frequently Asked Questions
Twice a year: once in April before the marine layer season starts, and once in late October after it ends. Homeowners within half a mile of the beach should add a third light lubricant pass in July. The salt air from the marine layer is the single biggest wear factor on Oceanside garage door hardware, and it’s relentless from spring through fall.
A silicone-based garage door lubricant, not WD-40. Silicone leaves a dry protective film that won’t attract the wind-blown sand common in Oceanside, while WD-40 actually strips protection and evaporates. For metal-to-metal contact like steel hinges, white lithium grease works well, but keep it off nylon rollers and plastic parts.
No. Torsion springs in particular store enough energy to cause serious injury or death if mishandled. Even extension springs require exact door-weight calculations and safety cable knowledge. This is the one job on the door that’s genuinely not a DIY project, no matter how handy you are. Call a licensed pro and let them handle the tension.
The marine layer causes it. Overnight salt moisture condenses on the hardware, then the daytime sun evaporates it, leaving salt residue and dry metal. That dry, salt-coated hardware squeaks. Lubricating more frequently during the May-to-October marine layer months keeps the squeak down and the hardware protected. Call (760) 819-7361 if you’re not sure what to use.
About $15 to $20 in materials per session, mostly the lubricant. The full year of DIY maintenance, including amortized costs for weatherstripping and occasional roller replacement, runs $30 to $40. Compare that to $180 to $340 for an emergency spring repair and the decision makes itself.
Don’t force it. Pulling the emergency release cord on a door that’s under spring failure risk can be dangerous. Call a 24/7 garage door repair service in Oceanside. Otto’s Garage Door has a live person answering around the clock, and Otto quotes the job on that call and holds the price when he gets there. The number is (760) 819-7361.
The Bottom Line
Garage door maintenance in Oceanside isn’t a nice-to-have; it’s the difference between a $35 year and a $600 year. The marine layer, the sand, and the salt are going to work on your door regardless of what you do. The only question is whether you’re checking the damage every six months and catching it at the surface-rust stage, or finding out about it when a spring snaps and the car is trapped. Follow the 10-point checklist, use the right lubricant, stay away from anything under tension, and call Otto when something’s beyond you. For more guides & resources, visit our blog. We’ve been doing this in Oceanside since 2004, and we’d rather keep you as a twice-a-year maintenance customer for twenty years than see you once for an emergency.
Written by Otto Reinhardt, Owner at Otto’s Garage Door, serving Oceanside since 2004.