
Last updated September 10, 2026
Full 25-point door and opener safety check with every visit - springs, cables, rollers, tracks, and your LiftMaster or Chamberlain opener included
You get a price before we start. It does not change when the truck arrives.
 Before
 After
After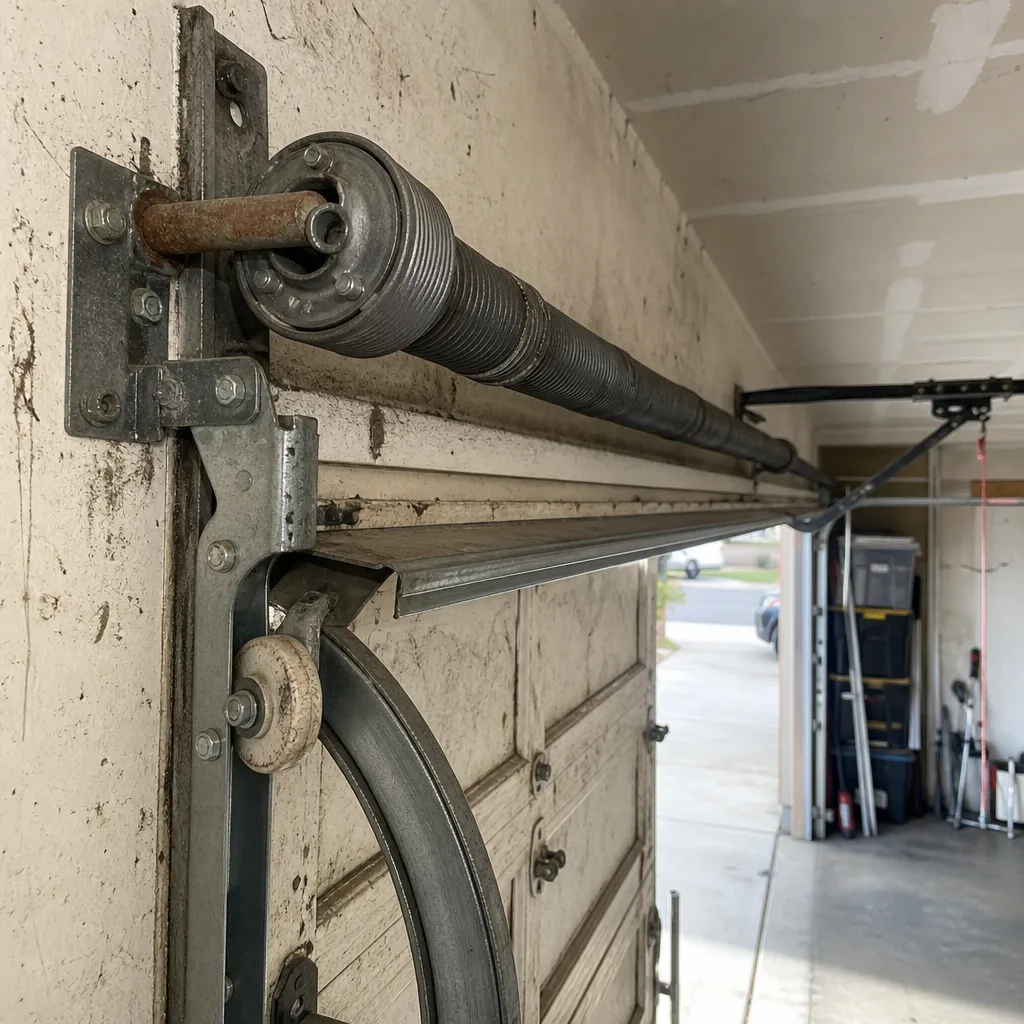 Before
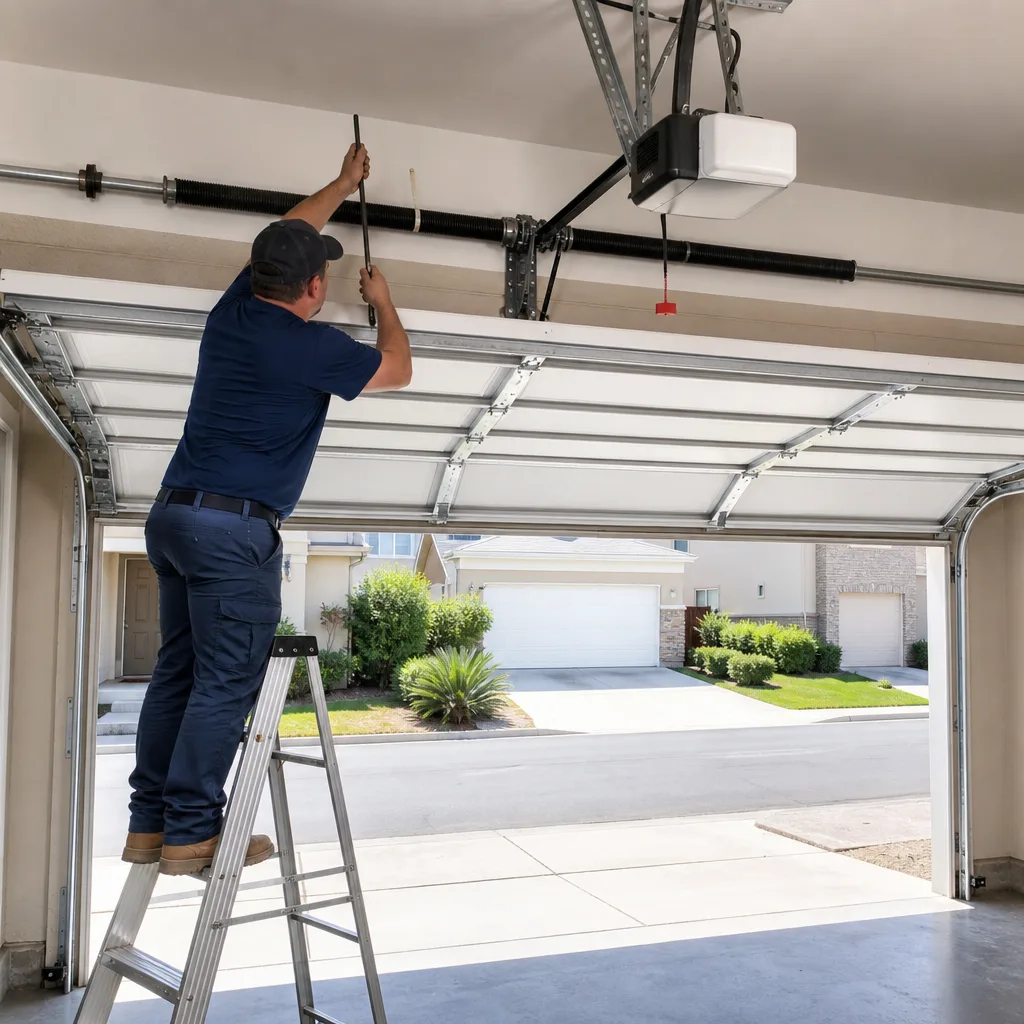 After
After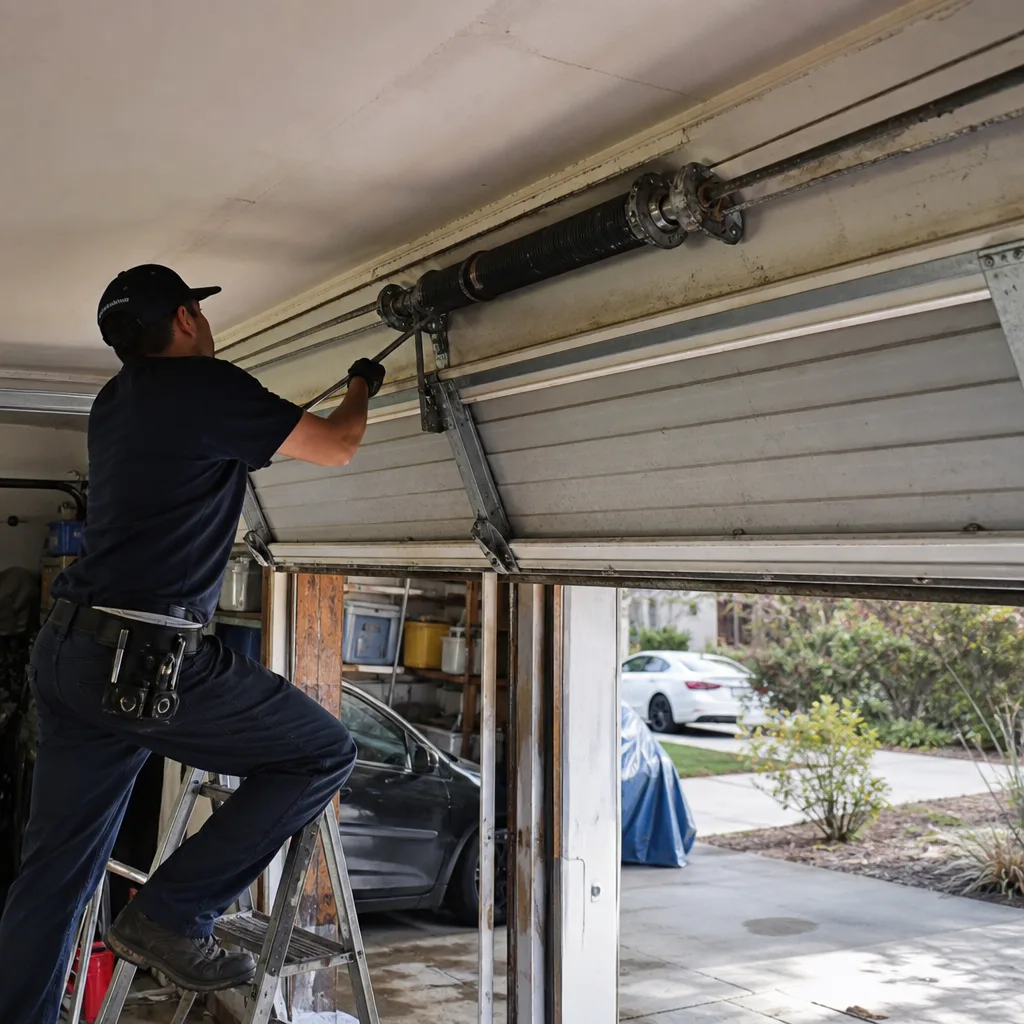 Before
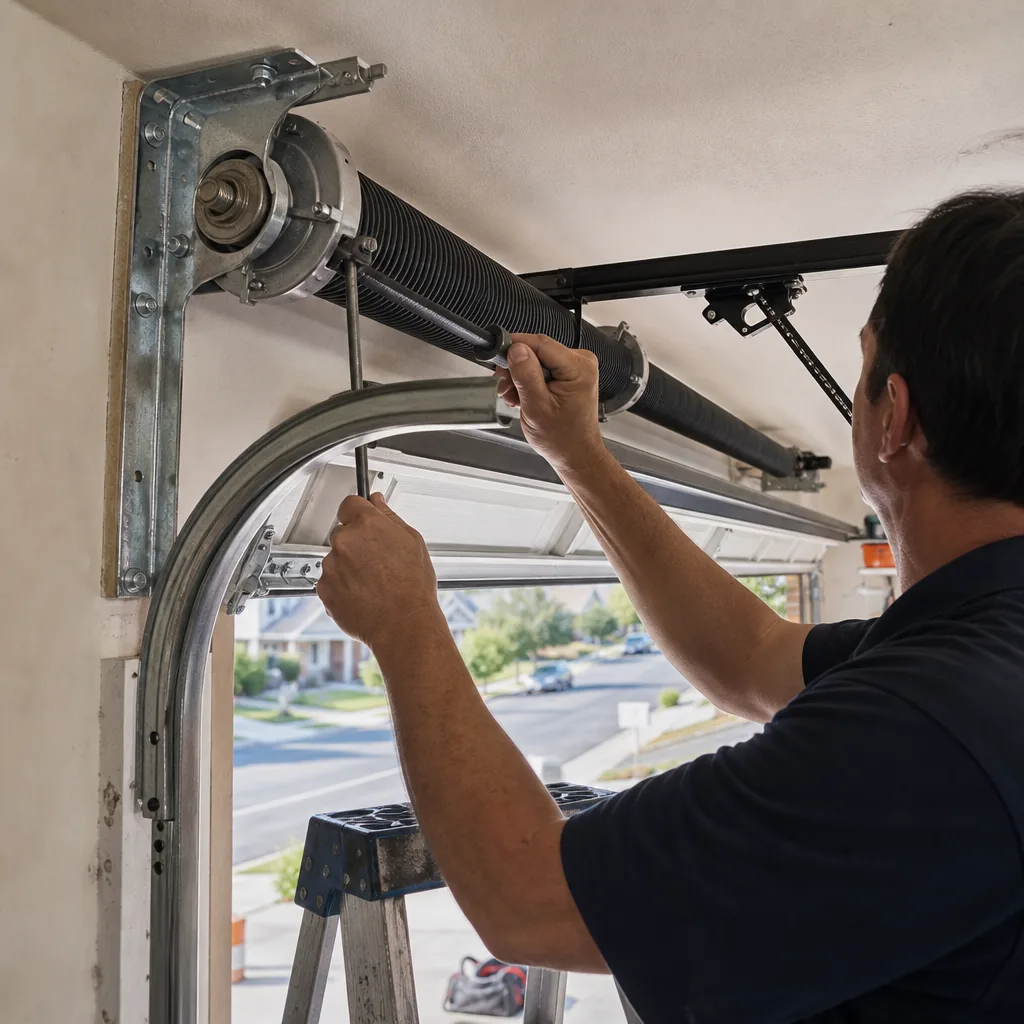 After
AfterDIY vs Professional Garage Door: The Oceanside Homeowner’s Decision Guide
A torsion spring on a standard residential garage door holds roughly 150 to 200 pounds of tension even when the door is sitting still. When that spring snaps, it doesn’t just break. It releases. And the person standing underneath it learns in half a second why every honest garage door tech in Oceanside starts every training session with the same warning. But here’s the part most guides won’t tell you: swapping a weathered bottom seal, lubing your rollers, or reprogramming a remote opener are jobs a careful homeowner can absolutely do on a Saturday morning with tools already sitting in the garage. The line between safe and dangerous isn’t a marketing gimmick. It’s specific, it’s knowable, and it shifts a little in a coastal town like Oceanside where salt air does things to metal that inland mechanics don’t deal with. This guide draws that line straight, because a homeowner who knows what not to touch saves more than money. They save a trip to urgent care.
Quick Answer
Most garage door repair jobs are genuinely DIY-safe: weatherstrip replacement, roller lubrication, remote reprogramming, sensor realignment, and light cosmetic fixes. But springs, cables, track hardware, and any job that requires releasing tension from the spring system are not DIY territory under any circumstances. Torsion and extension springs store enough wound energy to cause serious injury or death. In Oceanside specifically, salt air corrosion compounds the risk: a cable that looks fine on the outside may have hidden rot near the bottom brackets, and that changes the safety math significantly.
Table of Contents
- The DIY-Safe List: Six Jobs You Can Learn in an Afternoon
- The Never-DIY List: Five Jobs That Require a Licensed Tech
- What California Law Actually Says About Homeowners Doing Their Own Work
- The Oceanside Factor: How Coastal Air Changes the Risk Equation
- Real Cost Comparison: DIY Parts and Time vs. Professional Labor
- What to Do When a DIY Attempt Goes Sideways
- Do You Have the Right Tools, or Are You About to Buy Half a Shop?
- Age of the Door: The Hidden Variable Nobody Talks About
The DIY-Safe List: Six Jobs You Can Learn in an Afternoon
There is a real, honest list of garage door jobs that don’t require a licensed technician in Oceanside. We know because we’ve walked more than a few homeowners through these over the phone, free of charge, because sending a truck out for a six-dollar seal would violate the kind of work we actually want to be known for. A door is 200 pounds riding on two springs. Respect it. But respecting it doesn’t mean paying for a service call every time a piece of rubber wears out.
Here are the jobs we consider genuinely DIY-safe for a homeowner with basic mechanical confidence, drawn from our complete Garage Door Repair Maintenance Checklist for Oceanside Homeowners:
- Weatherstrip and bottom seal replacement. This is the single most common DIY-friendly garage door repair in Oceanside. The city’s salt air and occasional heavy winter rain rot rubber seals fast. You’ll know yours is failing when daylight shows under the closed door or the seal has cracked at the corners. The seal slides out of its aluminum channel, and the new one slides back in. Takes about twenty minutes.
- Roller lubrication. A can of white lithium grease and a cloth is all you need. Squirt the roller bearings, let it soak, wipe the excess. This is maintenance, not repair, and skipping it is why half the doors in Oceanside sound like slow-moving freight trains.
- Remote and keypad reprogramming. Every major brand, including LiftMaster, Chamberlain, Genie, and Craftsman, has model-specific reprogramming sequences you can find in the manual or online. The learn button is on the opener motor. You press it, you press the remote button, you’re done. No parts, no risk, no service call.
- Sensor realignment. If your door won’t close all the way and the opener lights are blinking, the safety sensors near the floor are likely out of alignment or blocked. Loosen the wing nut, adjust the sensor until the little LED glows steady, retighten. This is a five-minute fix and requires no spring interaction at all.
- Track bolt tightening. Over time, the carriage bolts that hold the vertical and horizontal track sections to the wall brackets vibrate loose. A socket wrench and ten minutes will snug them back. Just don’t mess with the track brackets themselves if the track has shifted visibly. That’s a tension issue.
- Light cosmetic fixes. Cleaning the door face, touching up scratches with manufacturer-matched paint, or replacing a broken hinge cover are all perfectly reasonable weekend projects. Clopay, Amarr, and Wayne Dalton all sell touch-up kits that match their factory finishes.
Notice what’s absent from this list: anything that touches the spring, the cable, the drum, or the bottom bracket. Those aren’t on a separate list because we’re protecting our revenue. They’re on a separate list because the failure mode on those parts is not “the job takes longer than expected.” The failure mode is a steel cable whipping across the room at high speed, or a winding bar kicked out of a spring cone under 200 pounds of torque. That’s the line. Everything above it is yours. Everything below it is ours.
The Never-DIY List: Five Jobs That Require a Licensed Tech
We get calls from people in Oceanside every month who started one of these five jobs themselves and stopped about two hours in, standing in the garage, staring at a door that now won’t open at all and a pile of parts on the floor. Some of them got lucky and nothing snapped. Some of them didn’t. Here is the list, and the reasoning behind each one:
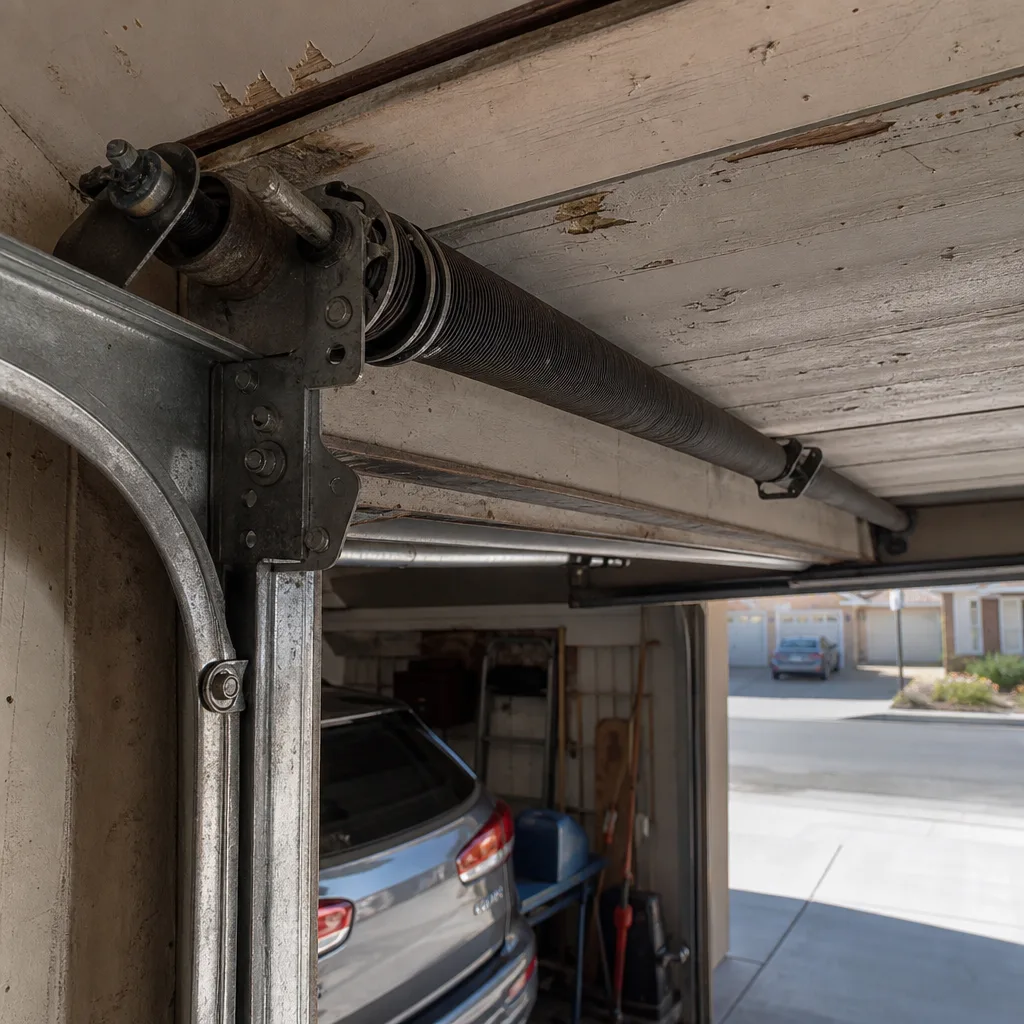
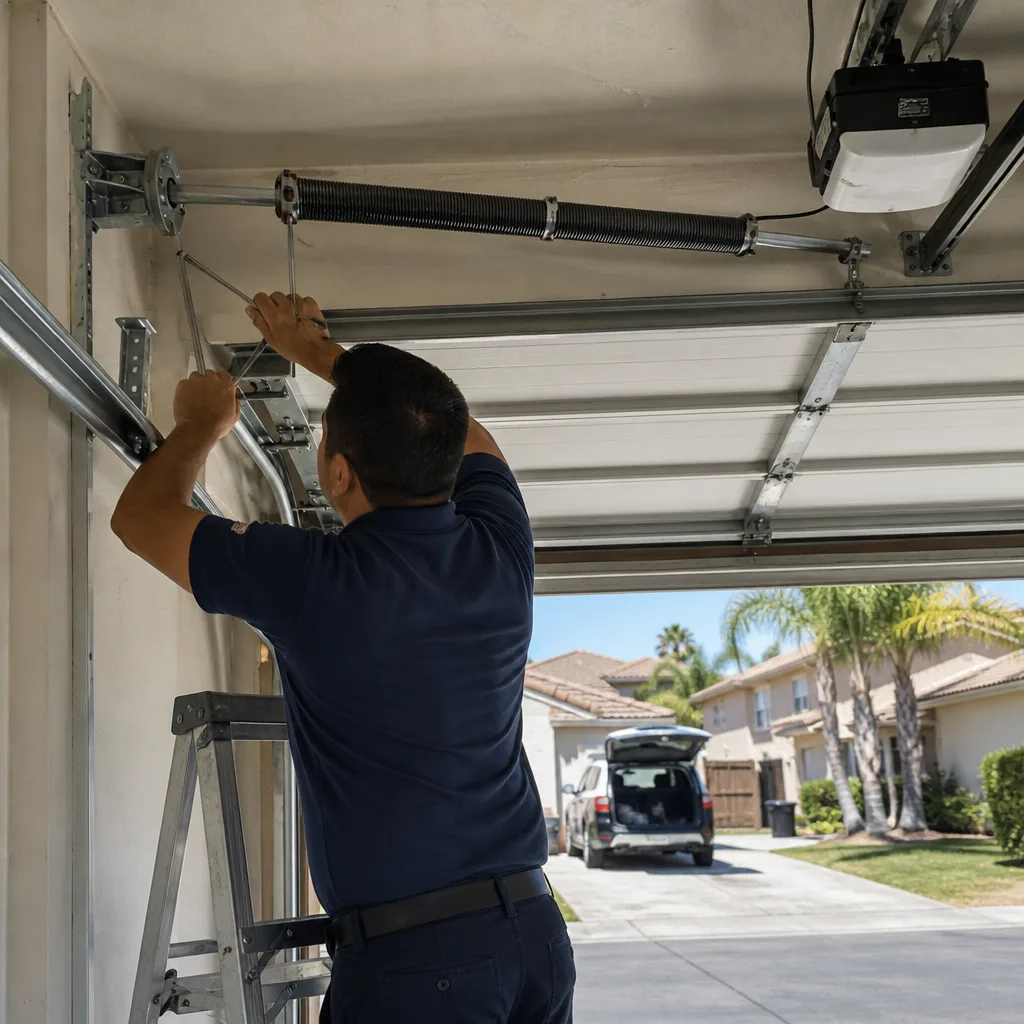
- Torsion spring replacement. The torsion spring runs along a shaft above the door and stores the energy that counterbalances the door’s weight. Even with the door fully open, the spring remains partially wound. Releasing that tension requires winding bars inserted into the spring cone, and if one of those bars slips, the bar becomes a projectile. In Oceanside, where salt air can cause invisible pitting on older springs, the risk of a spring snapping mid-attempt is higher than in inland cities.
- Extension spring replacement. Older doors use extension springs that stretch along the horizontal track. These are safer than torsion springs only in the way that a lit match is safer than a gas leak. When an extension spring breaks, the cable and spring fragments can fly in unpredictable directions. If your Oceanside home was built before 1985, there’s a good chance you have extension springs, aging in salt-adjacent air.
- Cable replacement. The cables work with the springs to lift and lower the door. They rub against the drums and bottom brackets on every cycle. In coastal air, they corrode at the bracket attachment points first, and that’s the part you can’t see until the cable pulls free. Replacing a cable requires removing the spring tension safely, which puts this job in the professional category by definition.
- Track repair or replacement. The track is not just a guide rail. It’s a structural component that keeps 200 pounds of moving steel traveling in one predictable path. Bent or twisted track needs to be replaced, and in some cases the wall brackets and spring hardware need to be removed and reinstalled in sequence. This is not a level-and-hang job.
- Opener motor replacement where the rail and chain or belt drive are involved. Installing a complete opener system means running new safety sensor wiring, setting the force and travel limits, and mounting a motor head that weighs forty pounds to the ceiling. It also means integrating the opener with the existing spring balance. If the door isn’t balanced right, the new opener gets destroyed quickly. A quality installation takes the right tools and the right sequence.
The through-line: anything that stores, transfers, or manages tension on the door is professional territory. The door doesn’t know if you’re a mechanical engineer or a retired teacher. Physics applies evenly.
What California Law Actually Says About Homeowners Doing Their Own Work
Here’s what we wish more Oceanside homeowners understood before they start a job: Garage Door Permits, Codes & Inspections in CA: What You Need to Know makes clear that California contractor licensing law does not prohibit you from doing any of this work on your own home. The state allows a property owner to perform work on their own residence without holding a contractor’s license. You’re free to replace your own weatherstrip, your own rollers, and, legally, even your own torsion spring. The law’s restriction applies to the person you hire. Anyone you pay to do garage door work, even as a handyman, must hold the appropriate license from the California Contractors State License Board if the job exceeds the handyman exemption threshold. And that threshold is lower than most people think.
But here’s the nuance in the risk conversation: just because you can legally do something doesn’t mean the risk has changed. The law permits you to work on your own springs. The spring does not care. The law exists to protect homeowners from unlicensed contractors. It does not protect you from yourself. When we say a job requires a licensed tech, we don’t mean the law says so. We mean the injury mechanism says so, and court records in San Diego County back that up. Homeowners attempting spring repairs on their own account for a meaningful share of garage door related ER visits in this region every year.
The legal line that actually matters for Oceanside homeowners: if you pay anyone to work on your garage door, verify the license number before they arrive. It’s public record. And if a handyman offers to replace your spring for a flat $150 cash, the reason the price is low is the same reason the visit is dangerous. No license, no insurance, no accountability, no way to verify who you’re letting into your garage. Our owner-operators carry a published license number any homeowner can run against the state registry before the truck even pulls up. That’s the way every job should work.
The Oceanside Factor: How Coastal Air Changes the Risk Equation
Oceanside is not San Marcos, and it’s certainly not Temecula. The city’s location along the Pacific means marine layer moisture, salt deposition, and sometimes aggressive corrosion on metal components that sit inside unpreconditioned garages. We’ve seen garage door hardware in Oceanside show oxidation within eight to ten years that identical hardware in east county wouldn’t show for twenty. This changes the DIY calculus in specific, measurable ways:
Salt corrosion hides in the places you can’t see. Cables fail at the bottom bracket, where the cable loops through a steel eye that sits inches from the garage floor. Moisture collects there. Salt destroys the
cable strands from the inside out. When you look at an Oceanside garage door cable, you see the outer strands. If they look slightly fuzzy or rust-dusted at the bottom, assume the inner strands are worse. And a cable with compromised inner strands can snap during a manual door operation, even one the homeowner is doing carefully.
Spring pitting happens faster. The microscopic salt crystals that settle on a torsion spring coil act like tiny drill bits once moisture is present. Over years, this creates pitting that isn’t visible to the naked eye. A pitted spring is a spring with a finite life remaining. When it fails during a DIY attempt, the person holding the winding bar is directly in the path of the release.
Roller and bearing wear accelerates. The steel ball bearings inside garage door rollers are sealed, but the seals themselves degrade in salt air. Once the seal cracks, the bearing inside runs dry, heats up, and fails. A homeowner might hear the telltale dry-grind and assume a squirt of lithium grease will fix it. It won’t. Replacing worn rollers is doable on the bottom brackets but not on the bottom brackets that carry cable tension. That distinction matters.
The marine layer doesn’t respect brand names. An Amarr door with Amarr hardware corrodes at the same rate as a Wayne Dalton with Wayne Dalton hardware when both are within a mile of the water. The brand doesn’t change the chemistry. The distance from salt does. Homeowners in Fire Mountain and downtown Oceanside see the fastest corrosion rates. Homes further inland toward Guajome and the riverbed see less, but still more than the rest of the county.
If you’re deciding whether a cable replacement or spring inspection is DIY, the honest math for Oceanside is: we’ve done this work on hundreds of doors in this city, and we still use winding bars, safety glasses, and a tension gauge. Because in a salt-air environment, you can’t tell what’s about to give until you put the tool on it. We’d rather have our hands on that tool than yours.
Real Cost Comparison: DIY Parts and Time vs. Professional Labor
The dirty secret inside most online “DIY saves money” conversations is that they only count the part, as our Garage Door Cost Breakdown: The Oceanside Homeowner’s Reference for 2026 explores in full. They don’t count the second trip to the hardware store, the tool you bought for one job, the three hours of YouTube video watching, and the risk of collateral damage. Here’s a real comparison for the five most common garage door repairs in Oceanside, using price ranges we see across the industry. These are honest numbers, not best-case scenarios.
Bottom Seal Replacement
DIY: The seal itself runs $25 to $45 at most hardware stores, and the aluminum channel is typically reusable. Total time: 20 to 40 minutes. This is a genuine DIY win. Even with a helper, you’ll spend under $50 and less than an hour. No professional should ever try to make this sound more complicated than it is.
Professional: Most Oceanside garage door companies charge $95 to $160 to replace a bottom seal, including the part. You’re paying entirely for the service call and labor, not for any specialized skill. This is a job where DIY genuinely wins.
Roller Replacement (6 rollers, steel or nylon)
DIY: The rollers cost $8 to $20 apiece, so $48 to $120 for a full set. But the bottom roller on each side is attached to the same bracket that holds the cable, which means those two specific rollers are not DIY-safe to remove. If you only replace the four top and middle rollers and leave the bottom two, you’ve done a partial job. Time: 1 to 2 hours. Risk: moderate if you stay away from the bottom brackets.
Professional: $140 to $220 for all six rollers, installed, including adjustment of the door balance afterward. The tech will also spot any worn hinges and tell you if the door tracks are out of alignment, which is value a DIY check won’t catch.
Safety Sensor Realignment or Replacement
DIY: Realignment is free if the sensors just shifted. A replacement sensor set runs $30 to $60, and the install is plug-and-play with wire nuts or clips. Time: 30 to 60 minutes. This is another genuine DIY win for anyone comfortable with a screwdriver and a level.
Professional: $110 to $190 for a service call with sensor replacement and adjustment. You’re paying for the same outcome, just with the truck rolled.
Extension Spring Replacement (both springs)
DIY: The springs themselves are $50 to $90 for a pair. The problem is that you need to know the exact door weight and spring stretch to order the right ones. Buying the wrong size means the door won’t balance and the opener will fail early. Plus, the tension hazard is real. We put this in the never-DIY category without exception.
Professional: $180 to $280, parts and labor included, for most standard single-car doors. For that, the tech brings the right springs, secures the door, makes the swap, tests the balance, and hauls the old springs away. This is a case where the DIY savings disappear the moment you account for the outcome when it goes wrong.
Torsion Spring Replacement
DIY: A single torsion spring runs $60 to $110, and you’ll need two winding bars at $25 to $45. A homeowner could theoretically do this for under $200 in parts and tools. But the moment a winding bar slips, the cost is measured in ER copays and lost workdays, not dollars saved. And if you install the wrong spring, the door won’t balance and you’ll need a professional anyway.
Professional: $220 to $340 for a standard single-spring replacement in Oceanside, which is right in line with the county, with some premium doors running higher. That price includes the spring, the installation, the balance check, and a warranty. It’s the single most dangerous repair on the list, and it is the one where the professional price buys the most risk reduction.
The pattern holds across all five jobs. On maintenance and low-risk repairs, DIY economics work. On anything involving tension, the professional price, even when higher, buys a vastly different risk profile. Our recommendation: spend your DIY energy on the jobs with zero tension and pocket the difference. Call a tech for the rest. Garage Door Repair in Oceanside doesn’t have to mean a full replacement; simple repairs make up most of what we fix.
What to Do When a DIY Attempt Goes Sideways
Every tech in Oceanside has walked into a garage where a homeowner started a repair with good intentions and halfway done. We don’t judge it. We fix it. But there are specific things that make a half-finished DIY repair more expensive to professionally complete than if the tech had done the job from the start, and homeowners should know what those are.
The door is now half-disassembled, not just broken. When a professional arrives to a door that’s still assembled but has a broken spring, the diagnosis is straightforward and the repair is quick. When a professional arrives to a door that the homeowner has taken partially apart, the tech has to first reverse-engineer what was done, verify that no parts are lost or misinstalled, and then perform the repair. That’s extra labor time and a real cost difference.
Parts are missing or mixed up. Garage door hardware is specific. A roller from one manufacturer isn’t interchangeable with a roller from another. If a homeowner removes parts and then can’t remember which goes where, or loses a bracket in the process, the tech has to source replacements. In Oceanside, where much of the housing stock is older and parts may be discontinued from brands like Raynor or older Craftsman models, that can mean a special-order part and a second visit.
The door is jammed in a dangerous position. The first thing a pro does before any repair is secure the door either up or down with locking pliers on the track. A homeowner mid-repair often leaves the door in a precarious spot, and when it shifts, it can bend the track, warp a panel, or yank the cable off the drum. Repairing the original problem plus the new damage is always more expensive.
The opener has been misadjusted. Some DIY attempts involve adjusting the opener’s force or limit settings to compensate for a door that’s binding, not realizing the real issue is a worn spring or a failing roller. By the time the tech arrives, the opener has been running hot for weeks and may have shortened its own lifespan. The fix now includes the spring plus the opener motor.
If you’re halfway through a DIY garage door job in Oceanside and you’ve realized you’re in over your head: stop, step away from the door, and call someone who does this every day. Otto’s Garage Door home answers the phone with a live person 24/7, and we’ve talked more than one homeowner down from a dangerous spot at nine at night. There’s no charge for the conversation.
Do You Have the Right Tools, or Are You About to Buy Half a Shop?
A surprisingly useful test for whether a garage door job makes sense as a DIY project is a simple inventory of the tools involved. Not the tools in a YouTube video, but the tools in your garage right now. If the job description includes the phrase “this is a specialty tool you can pick up cheap,” you’re not entering a low-cost job. You’re funding a single-use purchase that will sit in a drawer forever.
The genuine DIY-safe jobs on our list require tools nearly every homeowner already has: a socket wrench set, a flathead and Phillips screwdriver, a utility knife, a pair of scissors, a level, and maybe a rubber mallet. That’s it. No specialty tools, no tension gauges, no winding bars.
The never-DIY jobs require tools most homeowners don’t own and shouldn’t buy: winding bars sized to the spring cone, locking pliers with a specific jaw shape, a torque wrench in the right range, a cable puller, and lifting equipment for doors over 200 pounds. The tool acquisition cost alone can add $75 to $150 to the project, and that’s before you account for the fact that you’re learning the technique on a tension-loaded mechanism in your own house.
In our experience, the tool inventory honest question works better than any other screening question. Ask yourself: do I already own every tool I need, or am I about to buy something I’ll never use again? If the answer is the latter, the job isn’t a money-saver. It’s a tuition payment for a class called “How to Learn the Hard Way in Oceanside.”
Age of the Door: The Hidden Variable Nobody Talks About
A 25-year-old garage door in Oceanside is not the same as a 25-year-old garage door in Poway. The salt and moisture exposure shortens the lifespan of every component, especially the hardware. And that’s why the age question needs to be part of every DIY decision.
Doors in coastal neighborhoods typically have a component lifespan roughly 20 to 30 percent shorter than the same model inland. A Raynor door that might last 20 years in east county could be at end-of-life at 15 years in Fire Mountain or downtown Oceanside. When a door reaches that age, the DIY calculation changes: what looks like a single repair may actually be the first of several failures in a compressed window.
An older door that’s losing its spring will almost certainly need new cables soon, since those cables have the same age and the same corrosive exposure. The bottom brackets may be nearly rusted through. The rollers may be dry and worn. A homeowner who replaces one spring on an old door and calls it done has not actually fixed the door; they’ve bought a few months before the next component lets go.
This is our best advice for Oceanside homeowners with doors over 15 years old: before you buy any DIY part, get the door’s overall health assessed. Garage Door Installation in Oceanside doesn’t always mean a full replacement. Sometimes a new spring and a cable set is all you need. But you should know the condition of the other components before you commit to a repair that may not last. That assessment is something we do free, no obligation.
Common Mistakes to Avoid
- Using WD-40 instead of white lithium grease on rollers. WD-40 is a water displacer and solvent, not a lubricant for roller bearings. It will wash away any remaining grease and leave the bearing dry, accelerating wear. Use lithium grease instead.
- Reusing old cables on a new spring. In Oceanside, cables wear and corrode at a different rate than springs. A brand-new spring paired with a five-year-old cable is a mismatch that tends to fail at the worst moment. Replace both during any spring job.
- Trying to “reset” a spring without understanding which type it is. Torsion springs wind around a shaft. Extension springs stretch along a track. The tools are different, the failure modes are different, and the techniques are not interchangeable. If you don’t know which type you have, you’re not ready for the job.
- Ignoring the opener’s force and limit settings after a spring change. When a new spring changes the door’s balance, the opener’s travel and force settings need to be checked and recalibrated. Skipping this step causes premature opener motor failure, which is a much more expensive repair than the spring was.
- Buying the cheapest spring online without verifying the wire size and coil count. Springs are sized to door weight and height. An incorrectly sized spring won’t properly counterbalance the door, which means the opener works harder, the door binds, and the spring itself wears out faster. The savings evaporate almost immediately.
- Working alone on a job where a second set of hands is the difference between safe and catastrophic. Even jobs on the DIY-safe list benefit from a helper: holding the door, steadying a panel, or just being present to call for help if something slips. Garage door work is a two-person sport for a reason.
- Assuming a garage door that “works fine” has no hidden internal wear. The most dangerous door is the one that’s been running quietly for 15 years, because quiet doesn’t mean healthy. It means the wear hasn’t made itself known yet. In Oceanside, that quiet wear is accelerated by salt air. Have an experienced tech inspect the hardware before you assume all is well.
When to Call a Professional
Call a professional when the job touches any component that stores, transfers, or manages tension: springs, cables, drums, bottom brackets, or the track hardware that anchors them. Call when the door is over 15 years old and has never had its hardware inspected. Call when the door has sagged, dropped, shifted, or developed a lean. Call when you hear a bang from the garage and find a two-inch gap in a spring coil. Call when the opener is straining, because as we always say, if the opener is straining, the problem is almost never the opener. And call when you’ve started a job and realized you’re not sure what happens next. Every one of those calls is free to make. Garage Door Opener in Oceanside repair and installation are among our most common service calls, and we’d rather answer your question by phone than read about your injury in the local blotter. Otto’s Garage Door offers free estimates anywhere in Oceanside. Call (760) 819-7361 and you’ll get a live person, often Otto himself, who will quote the job accurately and hold that number when he arrives.
Frequently Asked Questions
Yes. California law allows a homeowner to perform garage door work on their own residence without a contractor’s license. But the spring doesn’t know about the license exemption. The injury risk doesn’t change because you own the house, and a torsion spring under tension is the same dangerous device in the hands of a homeowner as it is in the hands of an unlicensed handyman. We strongly advise against it regardless of the legal permission.
Torsion spring replacement is the most dangerous. The spring stores enough energy to lift the entire door, and releasing that energy requires winding bars inserted into a spring cone. If a bar slips, it becomes a rapid projectile. In Oceanside, where salt air can hide internal pitting on older springs, the risk of sudden mid-job spring failure is higher than average. We treat this as a professional-only job in every case we encounter.
It should not, and at Otto’s Garage Door it does not. The price quoted on the phone is the price written on the invoice, and we hold it from the driveway to the final walkthrough. That’s part of the L.O.C.A.L. standard we’ve run on since 2004: Local roots, On time, Community first, Accountable, Loyal. If you’re getting quotes from other Oceanside shops, ask directly whether the number on the phone is the number on the invoice. If they won’t commit, that’s an answer.
For a standard single-car torsion spring replacement in Oceanside, most homeowners should expect to pay between $220 and $340, parts and labor included, depending on spring size and door weight. Extension springs run a bit less, typically $180 to $280 for the pair. Coastal homes with heavier or older doors may see slightly higher prices due to parts availability and corrosion-related complications. For an exact number on your specific door, call (760) 819-7361. The estimate is free.
Yes. The marine layer deposits salt and moisture on garage door hardware, and components corrode faster than they do inland. We recommend a twice-yearly visual inspection of your cables, springs, and brackets, focusing on the bottom bracket connections where moisture collects. Lubricate rollers with white lithium grease every six months. And if your door is within a mile of the ocean, budget for component replacement on an accelerated cycle compared to inland doors. It’s not a defect in the door. It’s chemistry.
Yes. We answer the phone 24/7, and emergency calls are part of the business, not an exception. A live person takes the call, quotes the job, and we’re on our way. If your spring snapped while the car is inside the garage, that’s exactly the kind of call we handle at nine at night, because the name on the van is the name on the license, and Otto shows up. Call (760) 819-7361 and we’ll get you rolling.
The Bottom Line
The honest answer to DIY vs. professional garage door repair in Oceanside isn’t one answer. It’s a line, and the line is drawn by tension. Above the line: weatherstrip, lubrication, remotes, sensors, and cosmetic fixes. Below the line: springs, cables, track hardware, and anything that touches the balance of the door. Salt air moves that line inward, because coastal corrosion hides failure points that inland homeowners never have to consider. We’ve spent twenty years in this city keeping doors safe and homeowners un-injured, and the best outcome on any call is when a homeowner avoided a dangerous job entirely. Some jobs are truly yours. Some are truly ours. Knowing which is which is the whole game, and now you know.
Written by Otto Reinhardt, Owner at Otto’s Garage Door, serving Oceanside since 2004.